
Vibratory Finishing Scratches: 8 Common Causes and How to Fix Them
Why Are My Parts Coming Out Scratched After Vibratory Finishing?
The vibratory finishing process is a controlled process involving the parts, motion, media, water, and compounds to reach a desired surface finish. This process is both a science and an art form to find the right variables for your application. There are many factors that can result in vibratory finishing scratches.
If your parts come out with scratches or other surface imperfections, it’s often not the machine itself, but another part of the process. Through testing and analysis, we can often find the cause of the imperfections.
In this article we are going to break down the common causes of vibratory finishing scratches and surface imperfections.
1. Incorrect Media
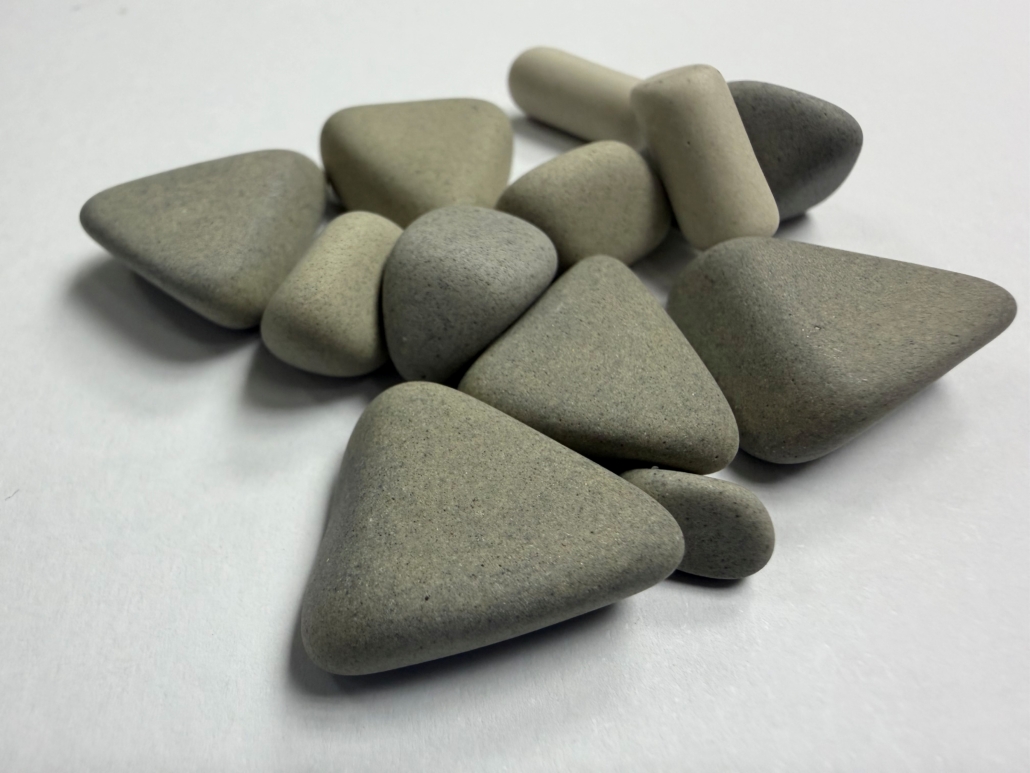
When starting a vibratory finishing process, testing ensures you have the right composition, shape, and size of tumbling media. If you’re currently experiencing surface scratching, the first thing you should evaluate is your media.
Selecting the correct tumbling media is an important step in the vibratory finishing process. Again, there are three main factors: composition, shape, and size. Each factor can cause (or fail to remove) surface imperfections if not chosen properly.
You can read more details about selecting the right media in our tumbling media selection blog here.
Professional Tip: Not all tumbling media is appropriate for every part or application.
Generally, ceramic media is going to be the most aggressive while plastic is for more gentle processes. If the media is too small, or the wrong shape, inadequate circulation and part separation, as well as lodging, may become an issue.
2. Contaminated or Worn Media
Even when using the correct media, there can be surface finish issues if the media becomes contaminated or too worn. If media becomes too worn and decreased in size, it needs to be removed from the equipment and replaced with new media. In addition, if the parts-to-media ratio changes, the flow of parts alters and can lead to imperfections in the finish.
As parts are processed, the media can also become loaded with contaminants including:
- Fine metal shavings
- Oils or coolants
- Oxides
- Process residue
It’s important to visually inspect the media periodically to ensure you have an appropriate work mix and the part flow is still moving correctly.
3. Improper Parts-to-Media Ratio
The parts-to-media ratio is vital for providing separation and cushioning the parts as they flow through the machine. There’s not a universal ratio to follow, as different applications will need different ratios for smooth flow and parts separation.
An improper ratio can lead to part-on-part contact which can cause scratches and imperfections. As a rule, a good ratio to start with 1:3 (parts-to-media) making adjustments throughout testing.
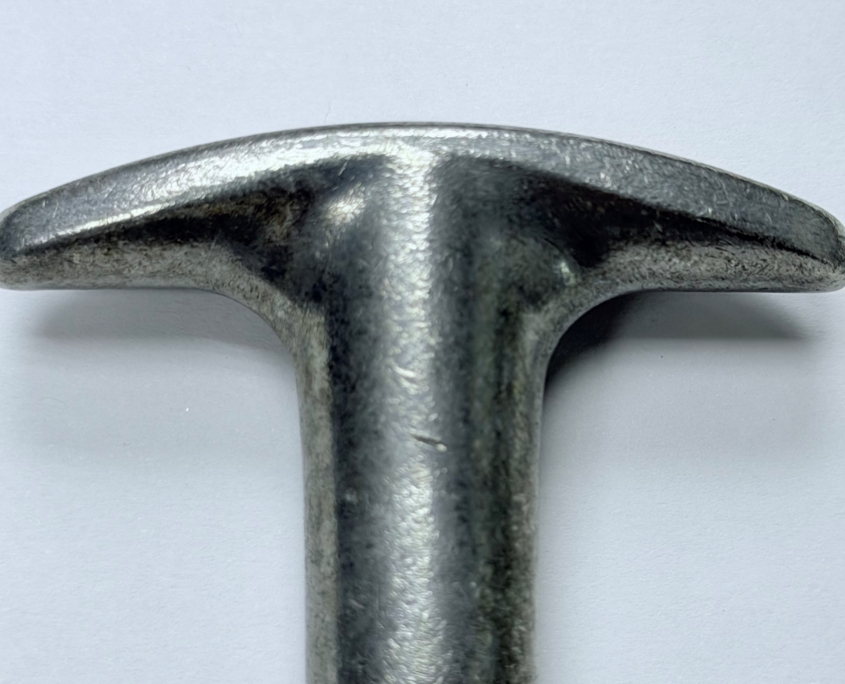
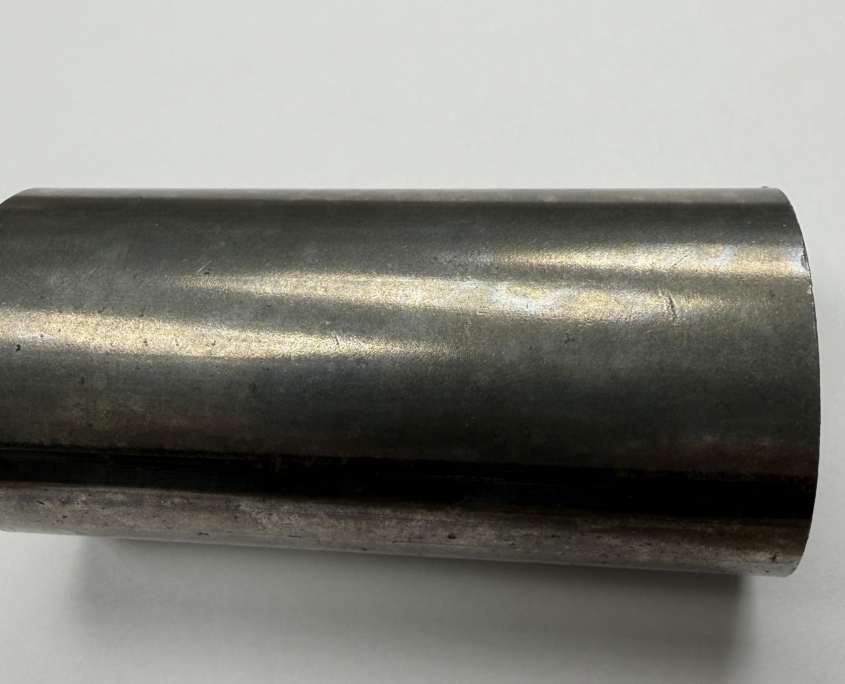
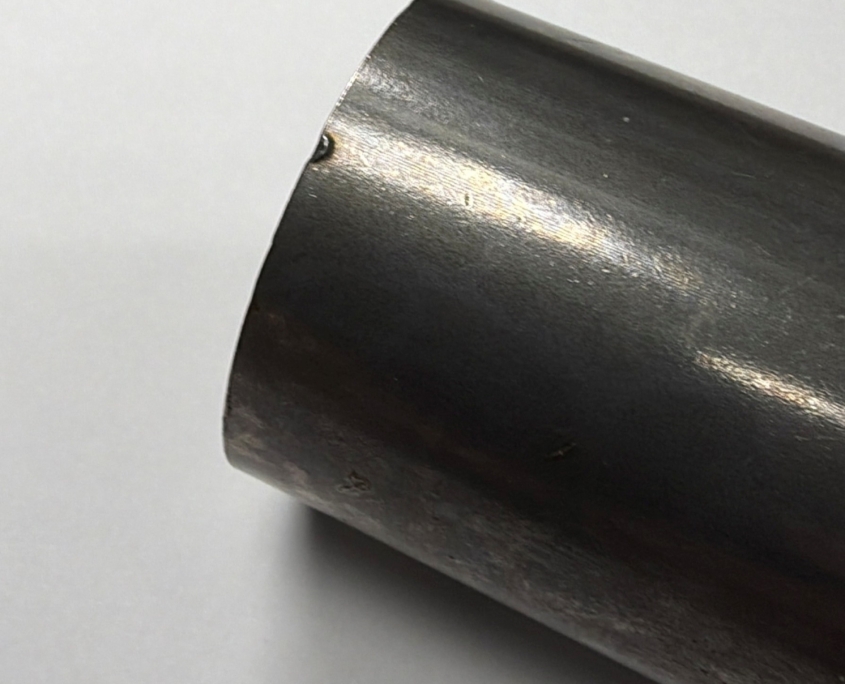
See the example to the right where there were too many parts in the machine, resulting in damage.
4. Part-on-Part Contact
Part-on-part contact is a very common cause of surface scratches and impact marks. The most common mistakes that lead to part-on-part contact are
- Overloading the equipment with too many parts
- Not enough media to provide sufficient flow
- Placing parts that can become interlocked too close to each other
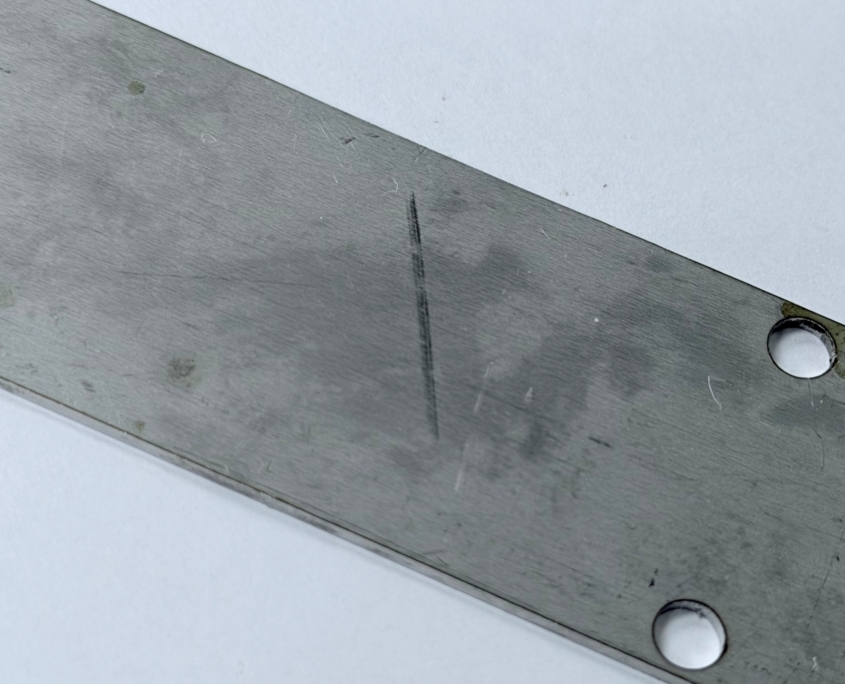
See the example to the right showing the result of part-on-part damage.
5. Process Time
The longer the parts are flowing through the machine, the greater the opportunity for surface imperfections. Overrunning parts can lead to faster media wear, more part-on-part contact, and a poor final result.
If you’re not reaching the desired finish, the first answer should not be to just extend the cycle time. Make sure you have all other components optimized such as the amount of media and its condition, the amount of compound used, the loading of the machine, and the flow/settings of the equipment.
6. Compound Issues
By utilizing the wrong type or an incorrect dose of compound, you can completely change the finishing process. Compounds play a vital role in the process including:
- Cleaning the parts
- Cleaning the media
- Lubricating the process
- Suspending contaminants
- Reducing part-on-part impingement
- Stain control
- Supporting the desired surface appearance
Ensuring you have the right compound, dosage, and water flow are key to protecting the parts throughout the finishing process and reducing the risk of vibratory finishing scratches.
7. Equipment Settings
Another factor that can cause surface imperfections is the vibratory finishing equipment operating too aggressively. It’s important to monitor the amplitude, speed/frequency, and load behavior of your process when troubleshooting.
A higher amplitude is often great for heavy-duty parts, but for more sensitive parts you need to adjust to a lower amplitude. Remember, the finishing process is an art form – faster isn’t always better when trying to reach a desired surface finish.
8. Exit of Parts/Unloading
Not every scratch or gauge happens during the finishing process but can happen in the unload or transfer of the parts out of the machine. Here are some troubleshooting tips to consider if you’re experiencing part damage during this step of the application:
- Parts dropping onto one another during separation
- Falling against a metal chute
- Getting trapped at the separator
- Contacting the machine’s exit components
- Being dumped into an improperly padded container
- Being handled roughly immediately after finishing
See example below of parts that were damaged by dropping onto each other during the unload process.
How to Systematically Troubleshoot Vibratory Finishing Scratches
Step 1: Characterize the scratch
The location and appearance of the damage can help narrow the cause.
Step 2: Determine when the damage occurs
Run a short test and inspect the parts. This helps distinguish:
- Existing machining defects
- Process-induced damage
- Separation/unloading damage
Step 3: Check the media
Look for wear, contamination, incorrect media mixed in, or a low media volume.
Step 4: Check the loading ratio
Measure the actual media and part volumes instead of estimating.
Step 5: Look for part-on-part contact
Run a smaller batch if appropriate.
Watch for:
- Nesting
- Interlocking
- Parts stacking
- Parts hitting one another
If increasing the media ratio significantly reduces the scratches, part-on-part contact becomes a much stronger suspect.
Step 6: Verify compound and water
Confirm the process hasn’t changed. Then check the current recipe vs the validated recipe for the process. Look at:
- Compound
- Concentration
- Water flow
- Water quality
- Solution change frequency
Step 7: Check machine settings
Verify your major equipment settings, including:
- Amplitude
- Frequency/speed
- Load level
- Cycle time
- Machine condition
Don’t change five variables at once. Change one variable at a time.
Still seeing vibratory finishing scratches and surface imperfections?
If you’ve checked the basic process variables and are still seeing inconsistent results, the problem may require looking at the finishing process as a whole. Media selection, equipment settings, compound chemistry, loading and part geometry all work together to determine the final result.
Midvale Industries can help evaluate your application and identify the right combination of vibratory finishing equipment, media, and process materials for your specific parts and finishing requirements.